Requires: Ouvvi Version 4.0.574 or greater.
We have a new Solution packaging feature for Ouvvi. This allows you to package Ouvvi assets into a single deployable package and then deploy to your Ouvvi server.
These Ouvvi solutions include Dashboards, Groups, Projects, Steps, Triggers, Connections and Settings.
There is a new Ouvvi Step Hander that can be used to automatically pickup a solution file and deploy to your server when ever the solution file is changed. For Live running servers this will queue in the import job and it will be run when the current job queue is clear.
Export Solution from Existing Ouvvi Instance
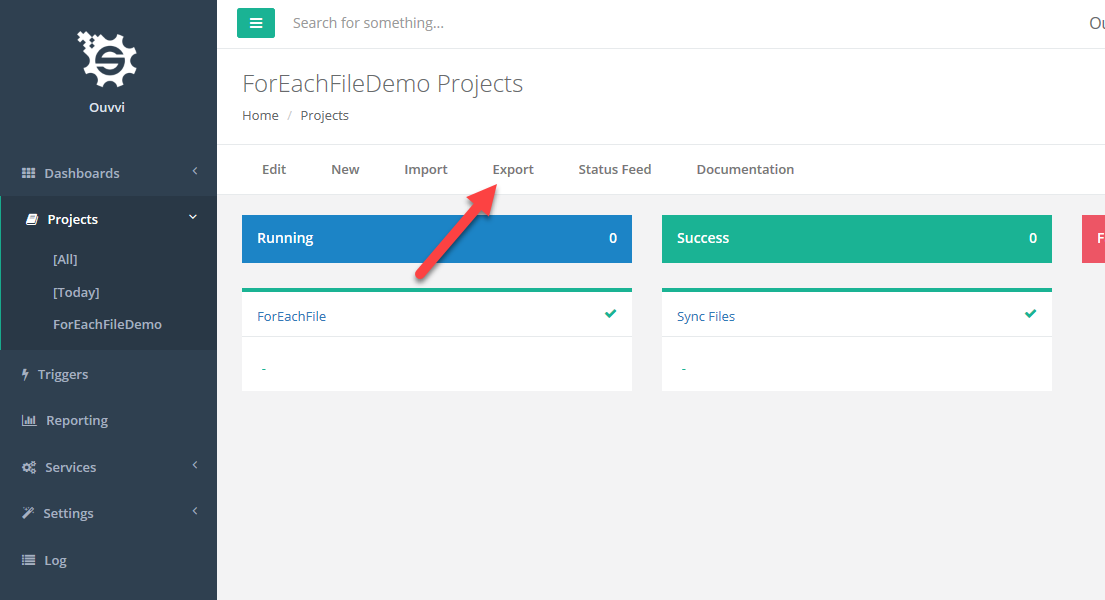
To export your existing Ouvvi projects to the new solution file format use the new Solution Export feature.
Go to Projects->Export->Solution Export.
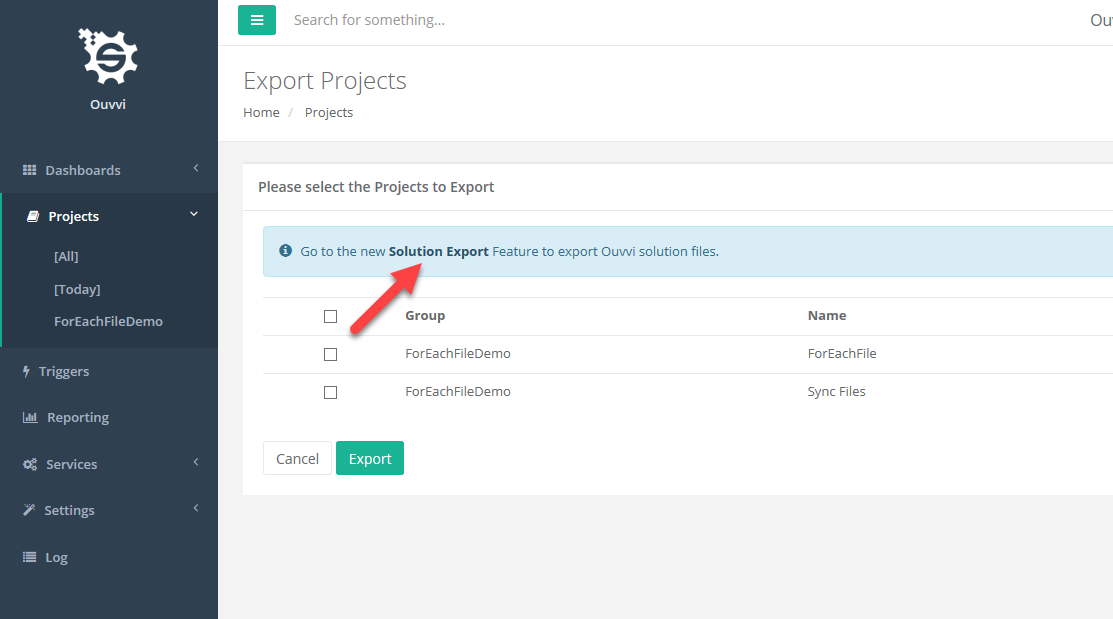
And check the items to be included in the export.
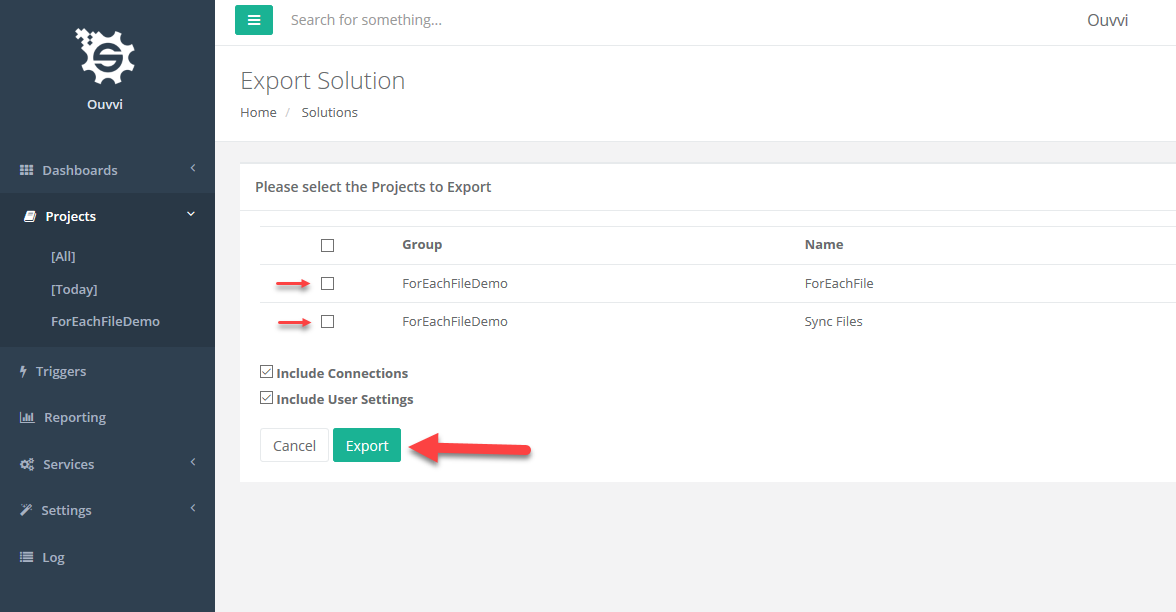
This will export a ZIP Archive file containing the solution assets which you can then extract and modify as necessary.
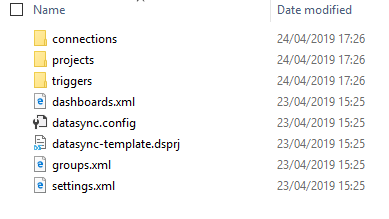
Import Solution to Ouvvi Instance
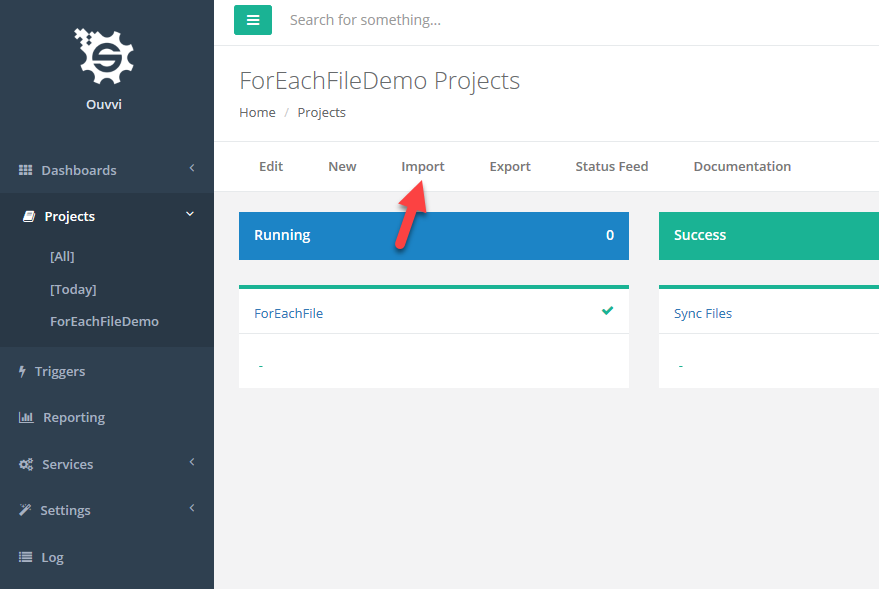
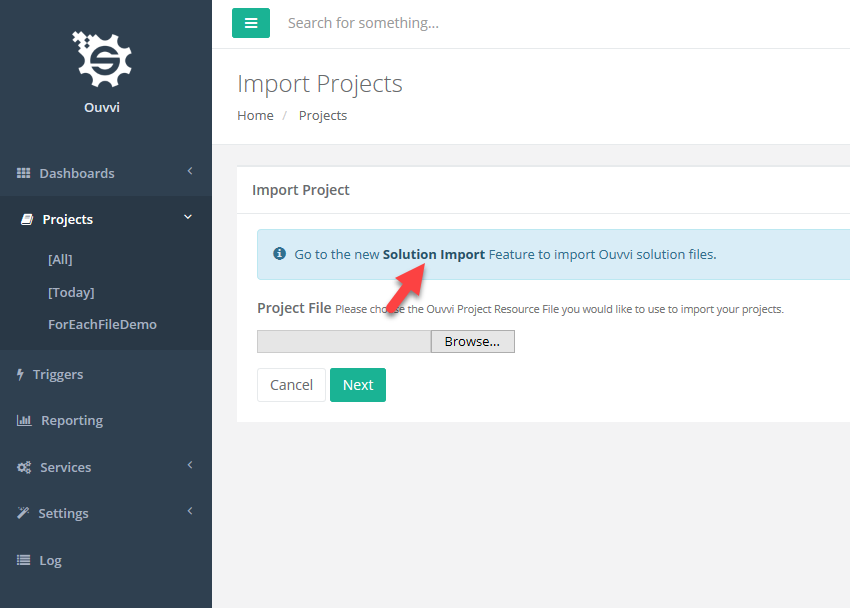
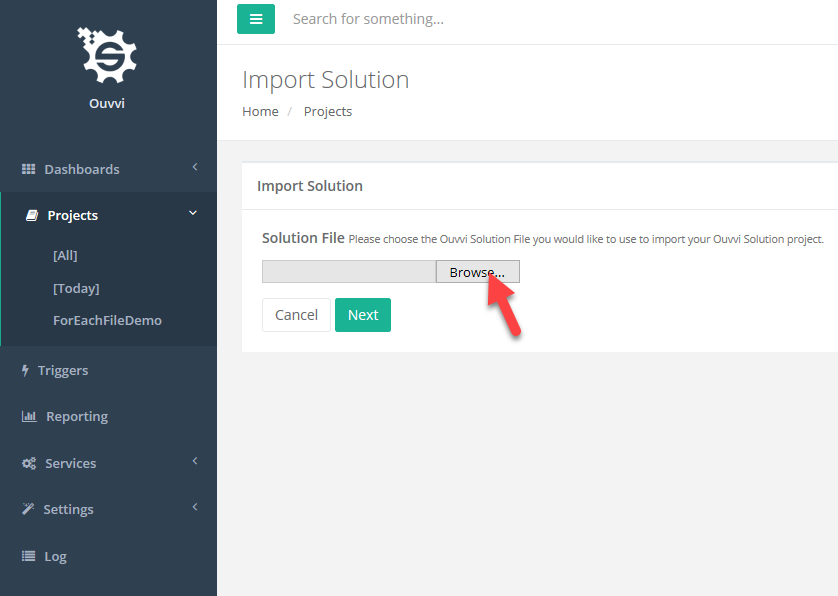
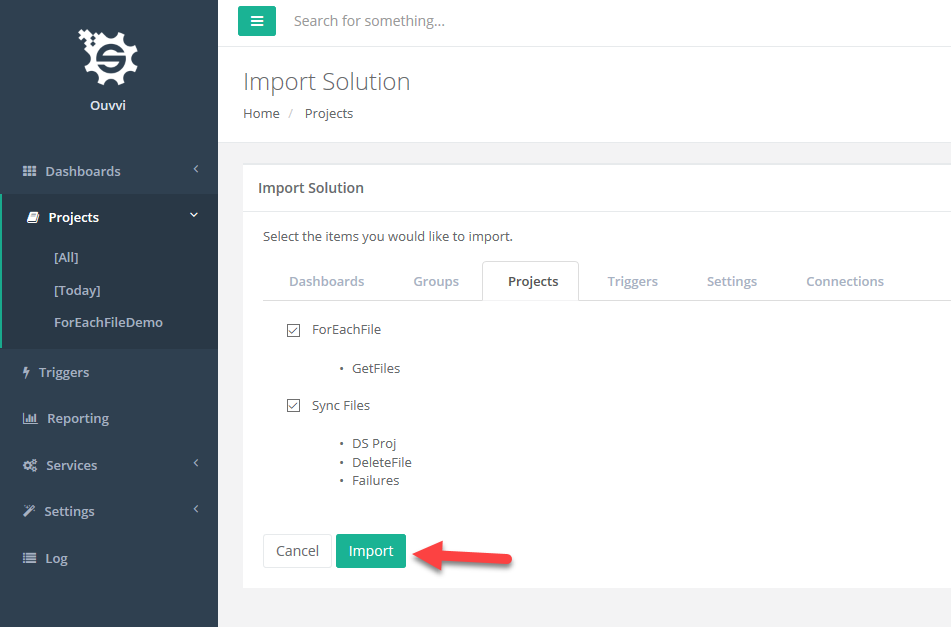
To import a solution file make sure that you zip all your solution assets into a ZIP Archive and then go to Projects->Import->Solution Import.
The Import process is a MERGE operation with your Ouvvi instance where items are matched by name. The only items that are deleted are steps within an imported project where they no longer exist.
Important: You must use unique names for your Ouvvi items so that matching by name during the import works correctly.
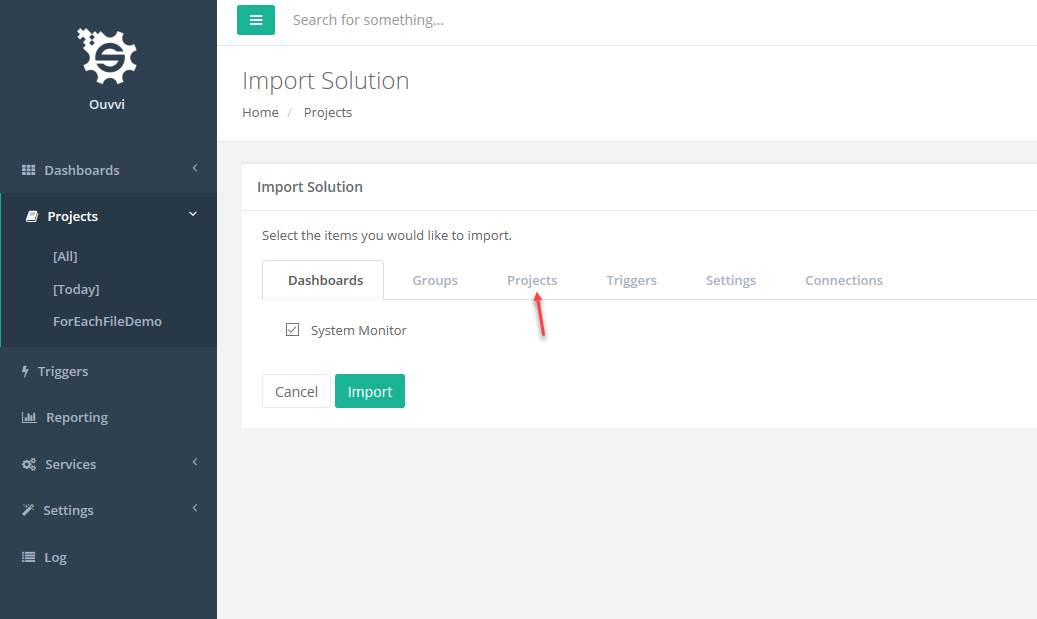
Before your items are imported you can review the contents of the solution file and choose which items to import.
Build Solutions with VS Code
Using VS Code, Visual Studio or another IDE allows you to manage these assets with a Source Control System (GIT) and when ready package up and deploy to the Ouvvi Server. The package is simply a ZIP Archive of the solution.
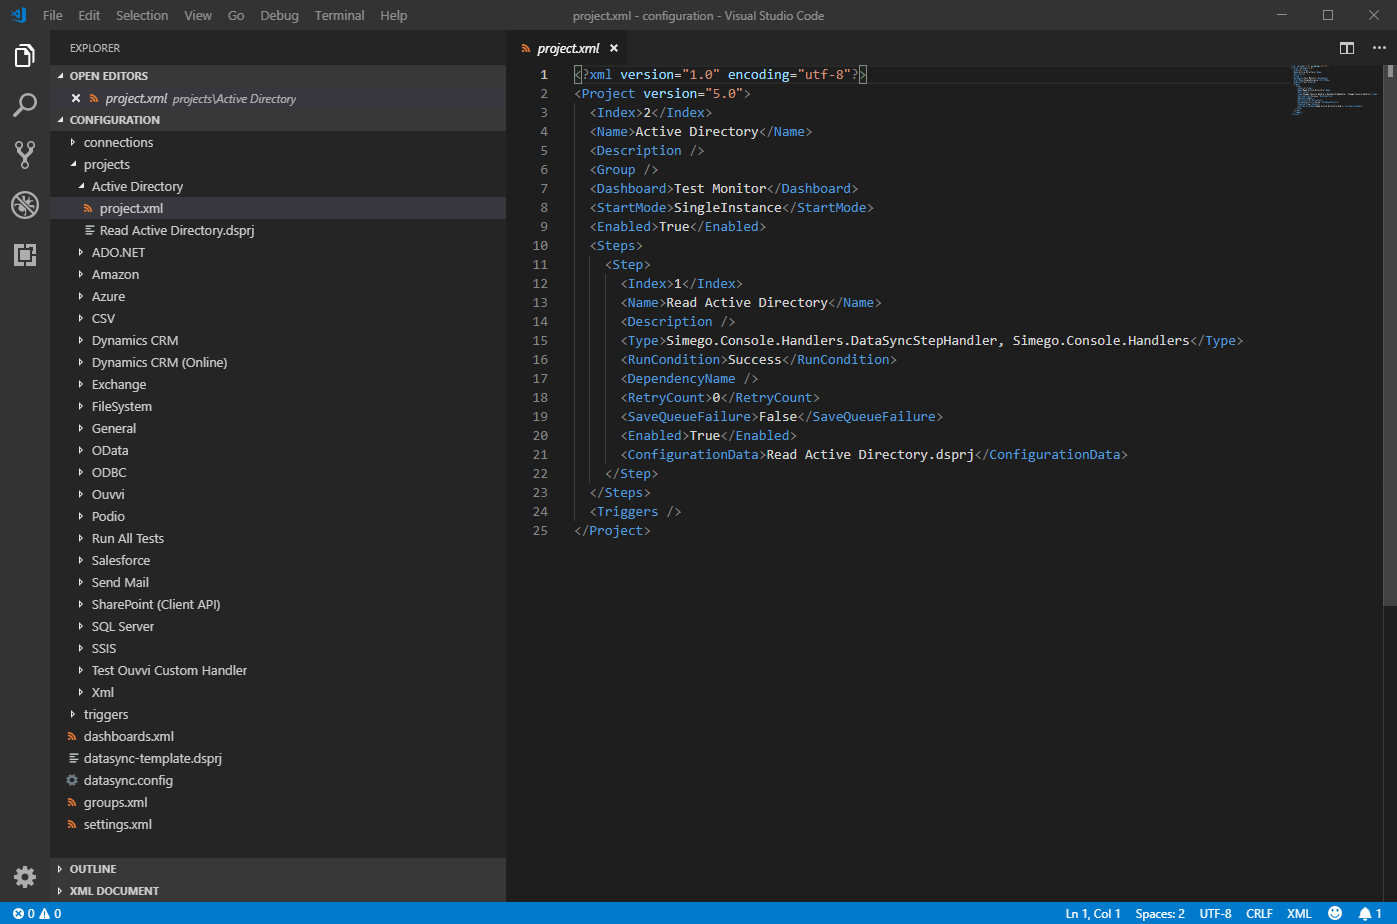
Within the IDE you can edit the solution XML Files. Store your assets in a source control system and edit the Data Sync projects with the Data Sync Studio Designer. The Connection Library is redirected to the Library within the Solution.
Automate Solution Import
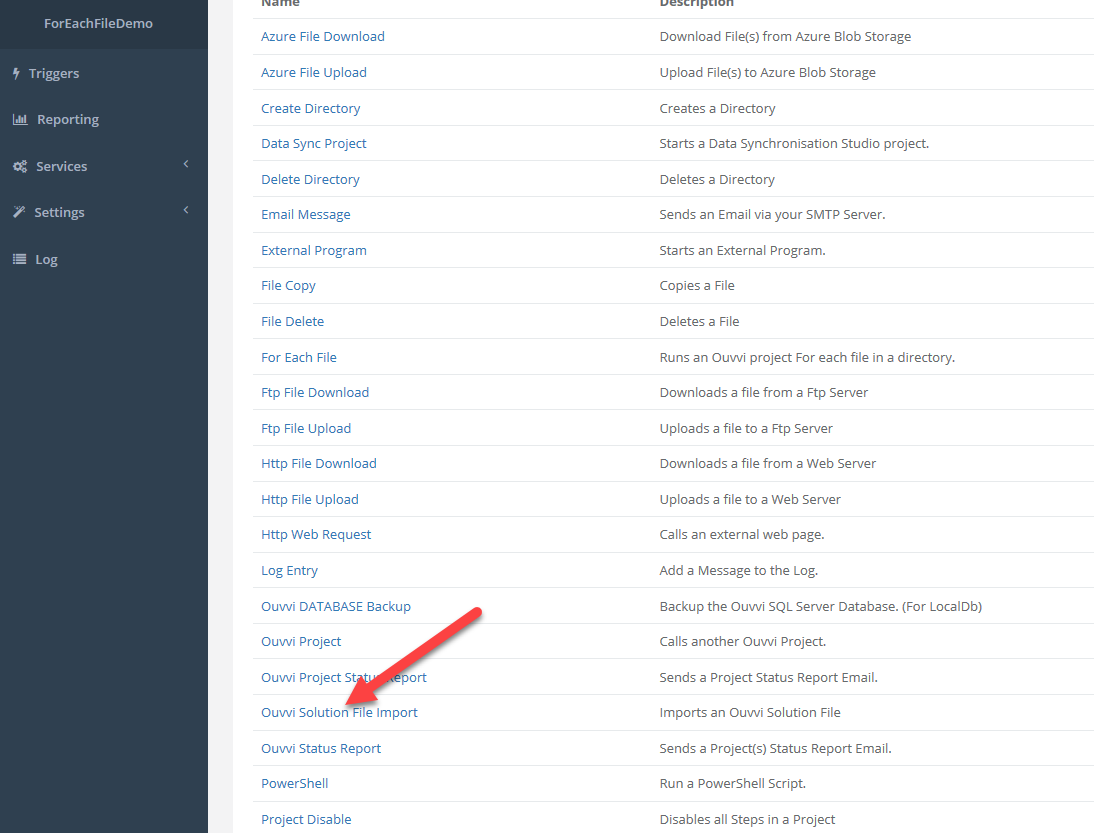
You can setup an Ouvvi project which can then be used to automate importing a solution file when it changes. To do this create a new project and add a step to the project of type "Ouvvi Solution File Import". The step configuration should then point to the location of the solution file.
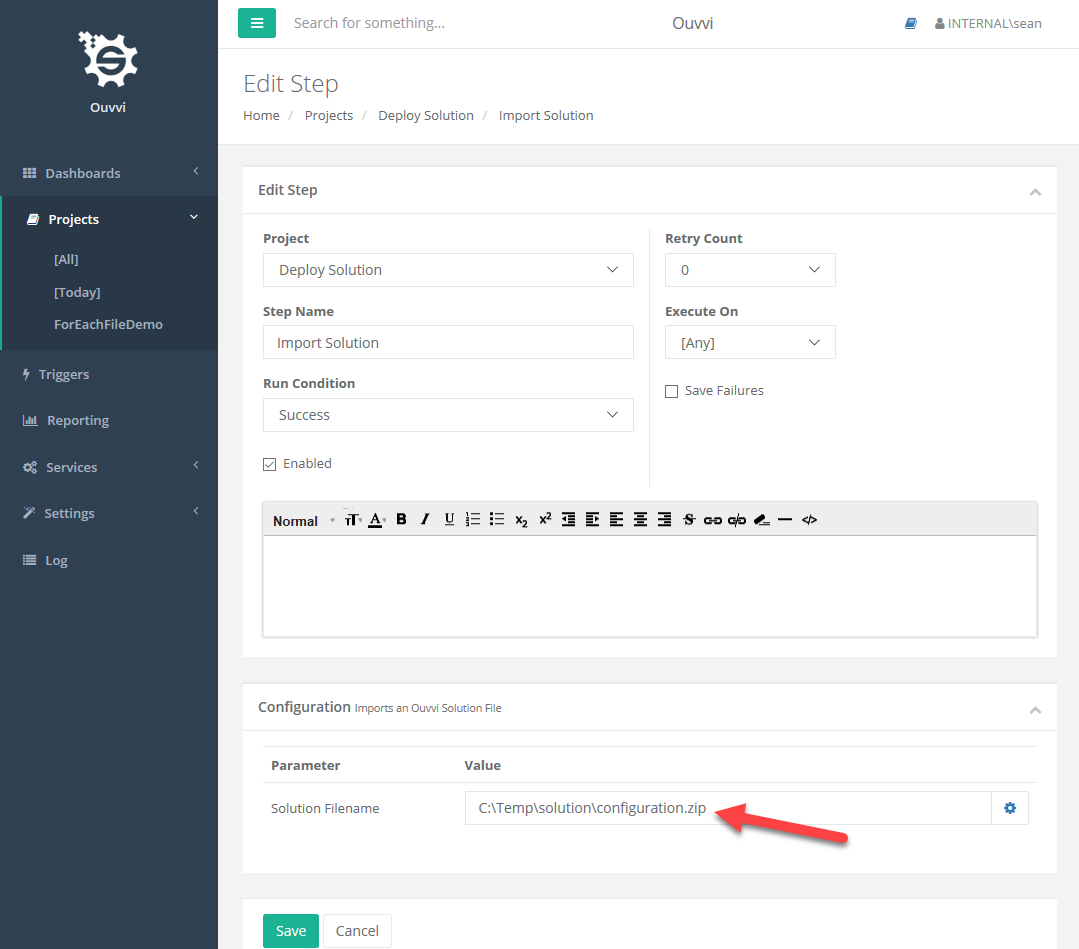
You can then create a File Trigger that points to the same file and add this to the deployment project. When a new Solution Zip file is then written the contents of the solution are automatically imported.